Harvesting honey is one of the most rewarding parts of beekeeping. There’s nothing quite like enjoying the golden, sweet reward of your bees’ hard work. However, knowing exactly when and how to harvest honey is crucial—not just for getting the best quality honey but also for ensuring the health and sustainability of your hive.
Over the years, I’ve learned that timing and technique can make a significant difference in honey yield and flavor. Harvesting too early results in honey that ferments quickly, while harvesting too late might mean missing out on the best nectar flow. In this guide, I’ll walk you through how to determine the perfect time to harvest, the best methods to use, and how to store honey properly to maintain its purity and taste.
When is the Right Time to Harvest Honey?
One of the first lessons I learned as a beekeeper is that patience is key when it comes to honey harvesting. You can’t just take honey whenever you want; you need to make sure it’s ready.
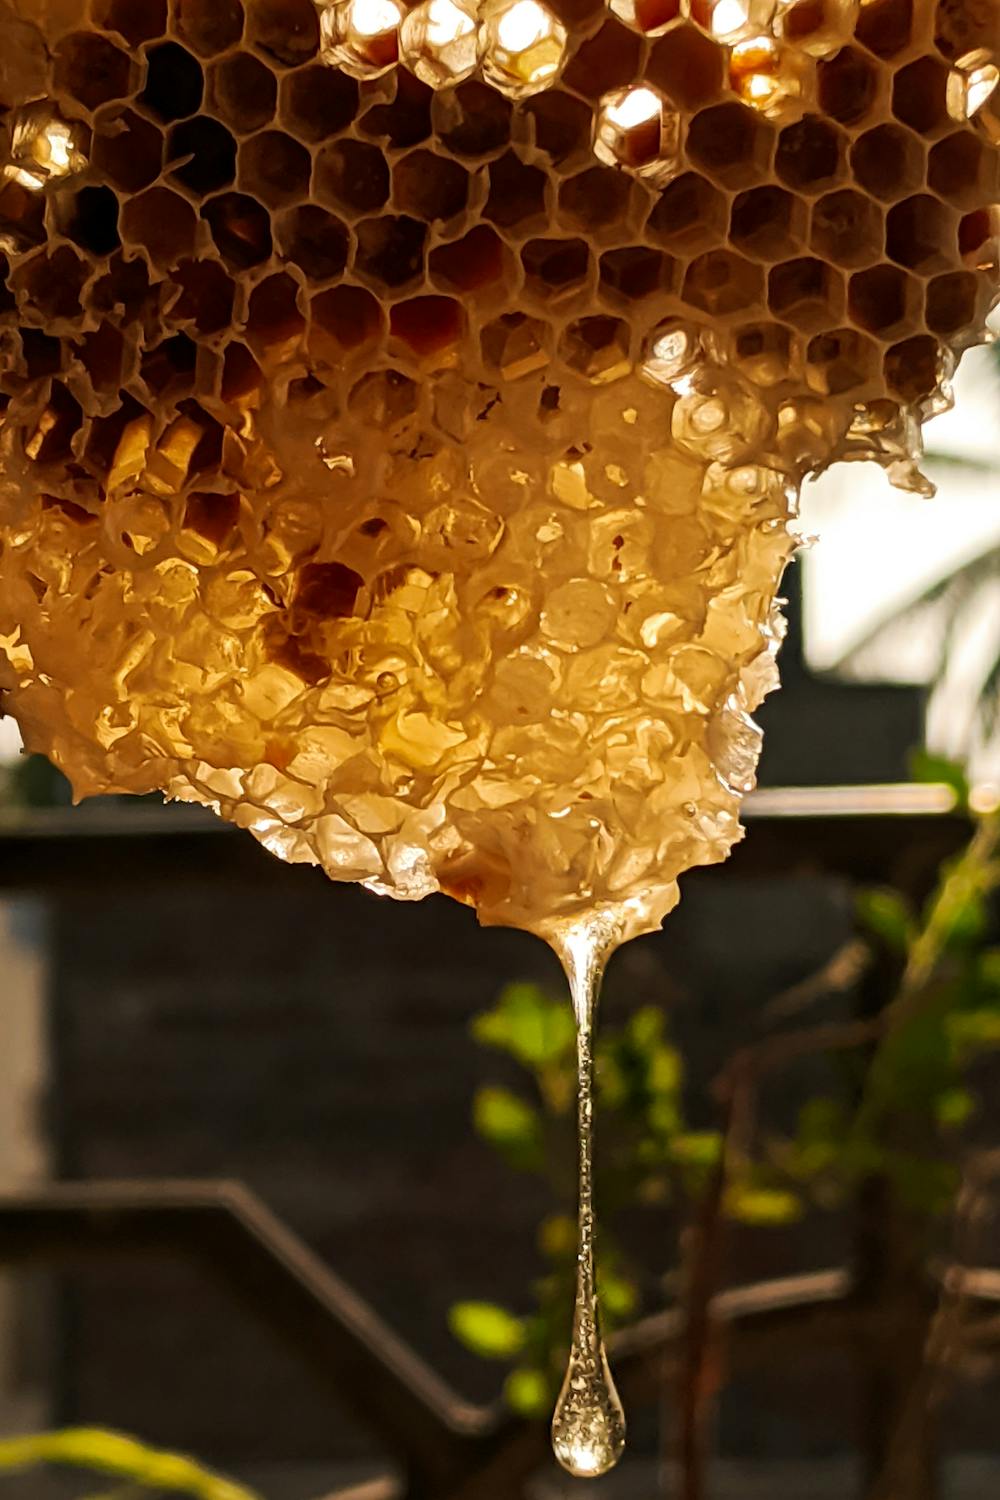
The most reliable sign that honey is ready for harvesting is when at least 80% of the honeycomb cells are capped with wax. When bees cap the cells, it means they’ve reduced the moisture content to below 18%, which prevents fermentation. If you harvest uncapped honey, it may contain too much water and spoil quickly.
Another good indicator is the weight of the hive. A strong honey flow results in noticeably heavier frames. If you pick up a frame and it feels significantly heavier than usual, chances are it’s packed with honey.
Observing bee behavior helps. During peak nectar flow, bees are highly active, constantly flying in and out of the hive. Once they slow down and become more focused on capping honey, it’s usually a good time to check if the honey is ready.
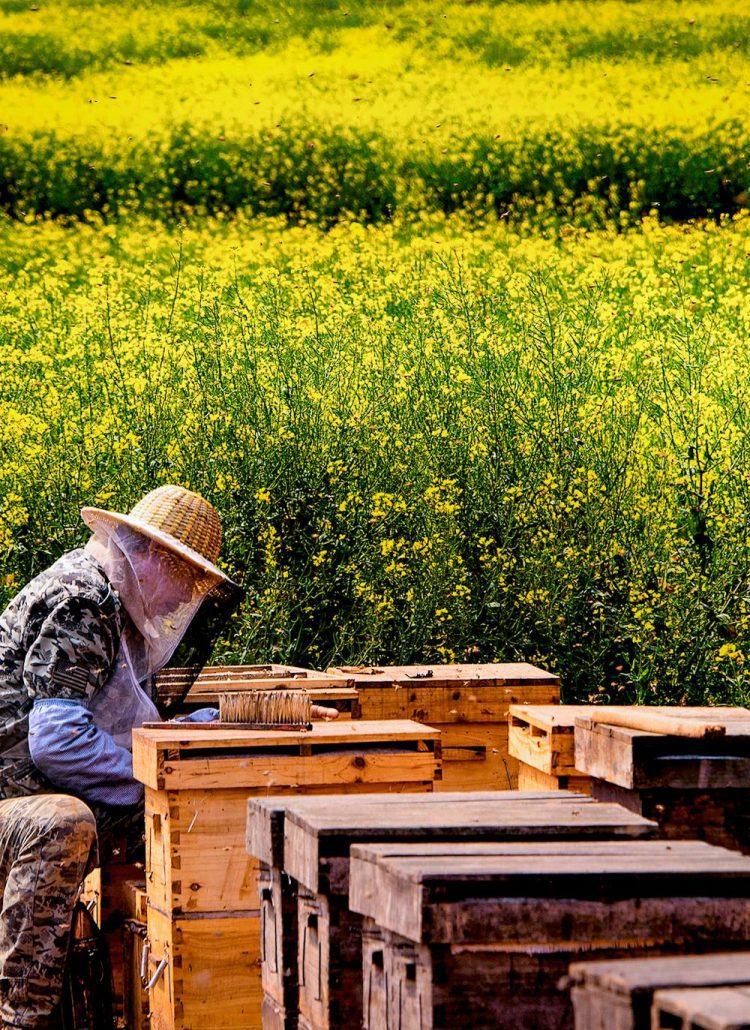
Importantly, the right time to harvest honey largely depends on your local climate and nectar flow. Generally, honey harvesting happens in late summer or early fall, once bees have had enough time to collect nectar and process it. If you live in a warmer region, your harvest window might be longer, while in colder areas, it’s best to collect honey before temperatures drop significantly.
Preparing for the Harvest
Before heading into the apiary, make sure you have the right tools. Here’s what I always have on hand:
- Bee suit and gloves – Protection is key. Even the calmest bees can get defensive when you take their honey.
- Smoker – A little smoke helps calm the bees and reduces aggressive behavior.
- Hive tool – Useful for prying apart frames that are stuck together with propolis.
- Bee brush – Helps gently remove bees from the honey frames without harming them.
- Uncapping knife or roller – For removing the wax caps before extraction.
- Honey extractor (or alternative methods) – I’ll cover extraction methods shortly, but having an extractor makes the process much easier.
See More: How to Choose the Right Beekeeping Suit
I always recommend harvesting honey on a warm, dry day, ideally around midday. Bees tend to be more active, which means fewer of them will be inside the hive, making the process smoother. Warm weather also makes honey flow more easily, which helps during extraction.
Step-by-Step Guide to Harvesting Honey
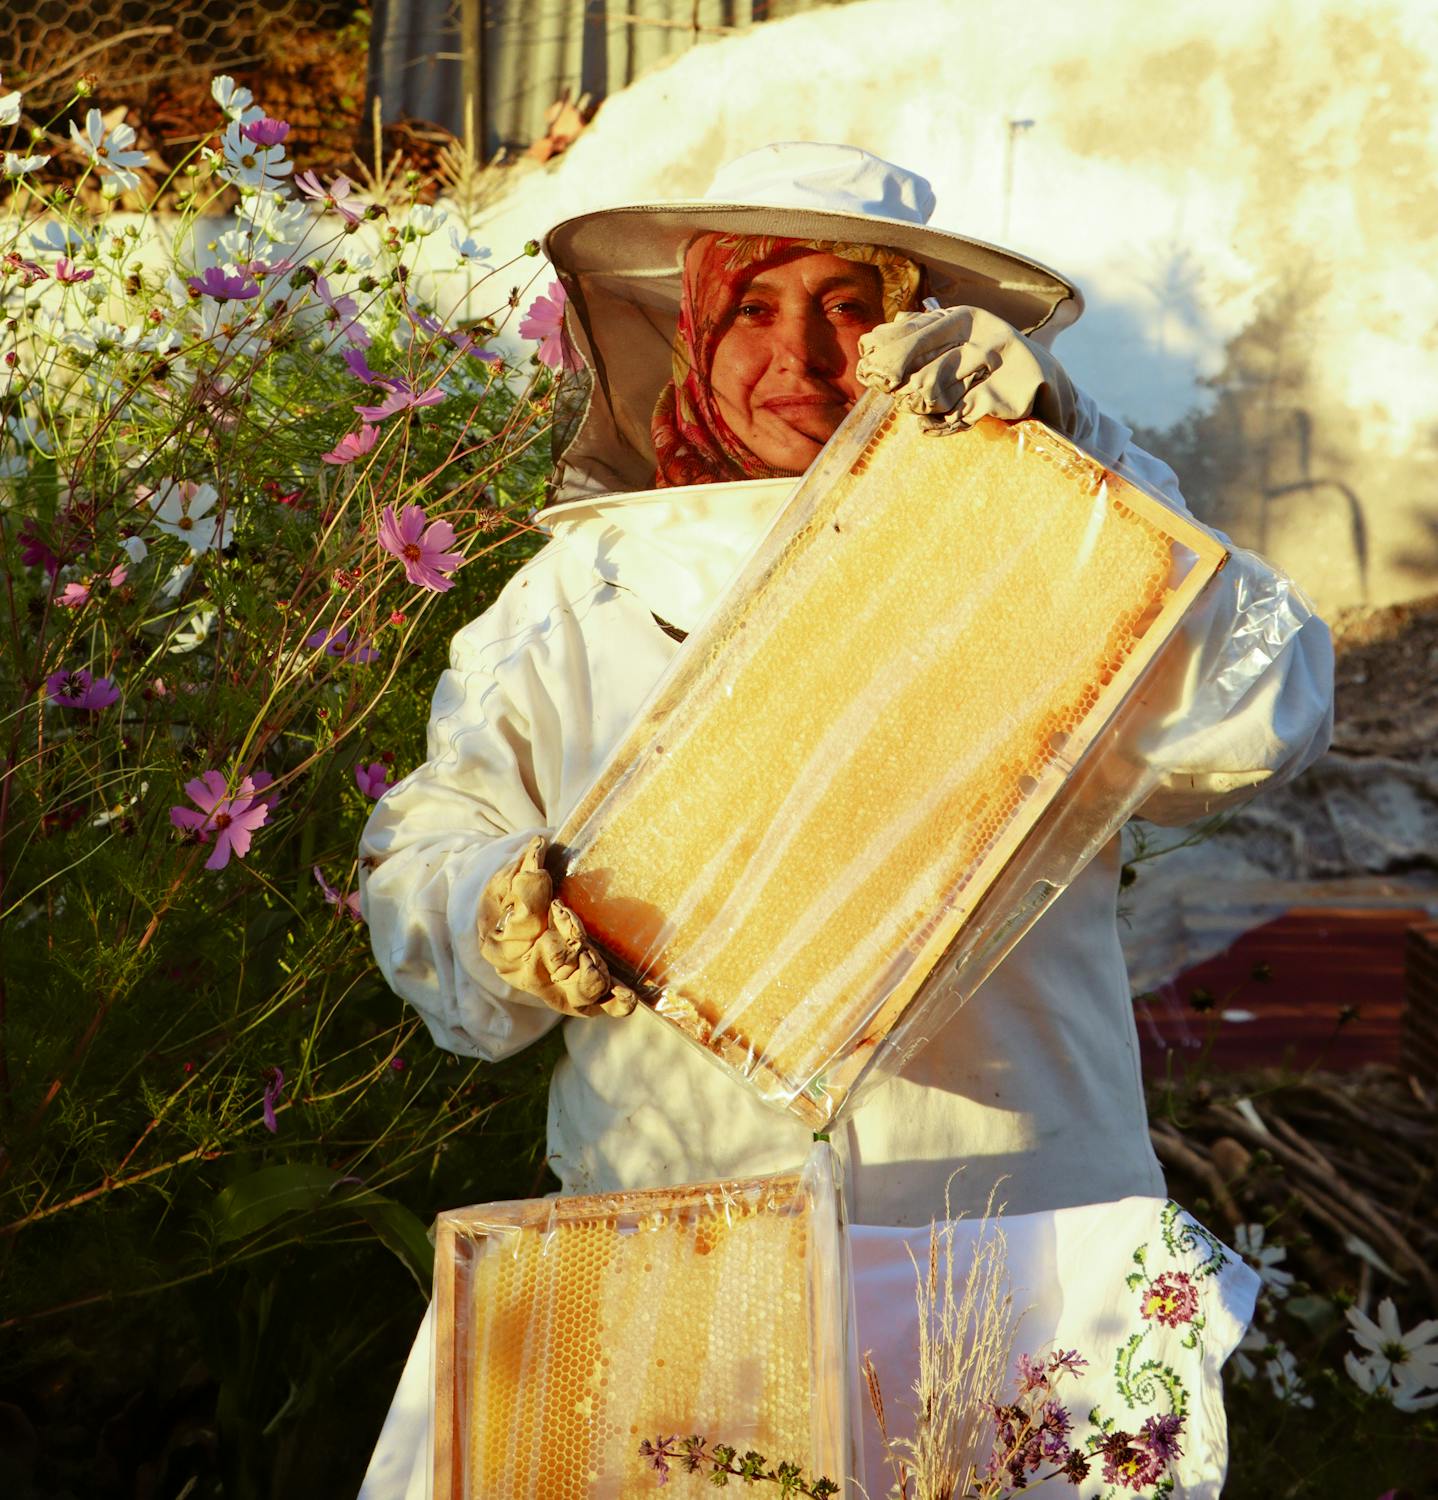
Step 1: Inspect the Frames
Start by carefully opening the hive and inspecting the honey frames. Look for the capped honeycomb—if most of the cells are covered with wax, you’re good to go. Be sure to leave enough honey for the bees, especially if winter is approaching. Bees need their own supply to survive colder months.
Step 2: Removing the Frames
Once you’ve identified the frames ready for harvest, you need to remove them gently. There are a few methods to do this:
- Using a bee escape board placed a day before helps clear bees from the frames.
- A bee brush can help remove bees one by one, though it can take longer.
- If you have a blower, you can gently blow bees off the frames.
Step 3: Extracting the Honey
After removing the frames, you have a couple of options for extracting honey:
- Using a centrifugal honey extractor – This is the most efficient way. Simply uncap the honeycomb using an uncapping knife or roller, place the frames in the extractor, and spin to separate honey from the wax.
- Crush-and-strain method – If you’re working with a small number of frames, you can cut the honeycomb, crush it, and strain the honey through a sieve or cheesecloth. It’s messier but works well for small-scale beekeeping.
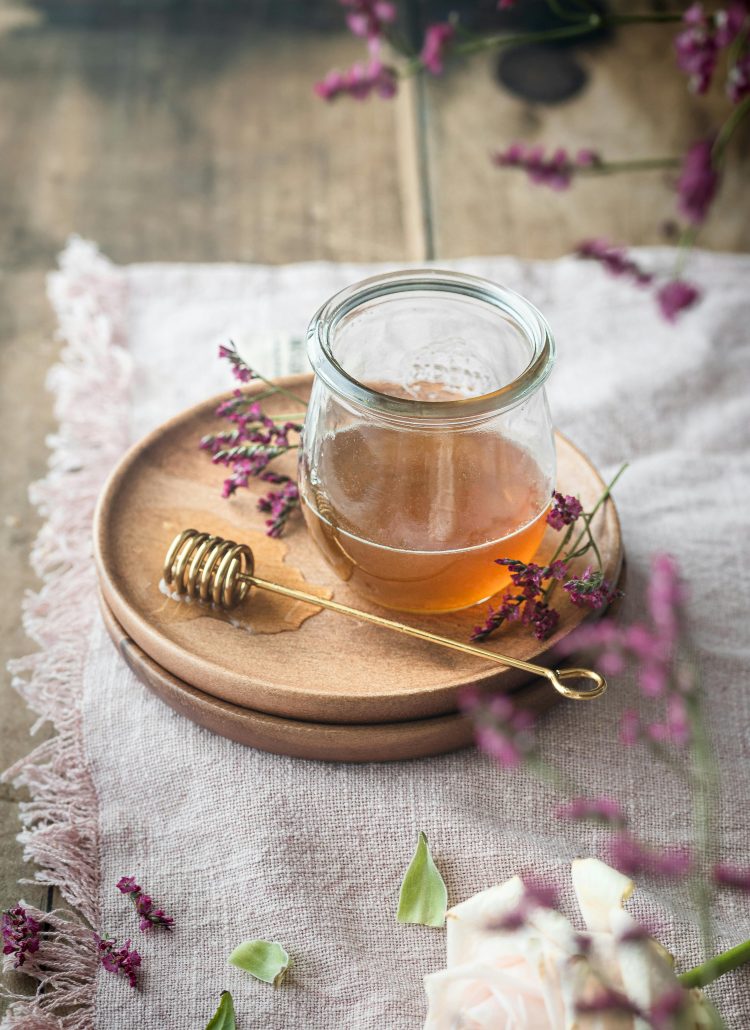
Step 4: Storing and Bottling
Once you’ve extracted the honey, filter it through a fine sieve to remove any wax particles or debris. Store honey in glass jars or food-grade plastic containers in a cool, dark place to prevent crystallization and fermentation.
How to Ensure Maximum Yield & Quality
Preventing Excessive Honey Removal
A common mistake new beekeepers make is taking too much honey, leaving bees without enough food for winter. I always leave at least 40-60 pounds of honey in the hive, depending on the climate. Bees rely on this supply to survive when nectar sources are scarce.
Maintaining Low Moisture Content
High moisture content in honey can lead to fermentation. To ensure your honey is at the right consistency, use a refractometer to check moisture levels. Ideal honey should have a moisture content of below 18%.
Proper Handling and Storage
Store honey in an airtight container away from sunlight and humidity. Honey has a long shelf life, but exposure to moisture can cause it to spoil. I also recommend labeling your jars with the harvest date for tracking purposes.
Common Mistakes to Avoid
Many beekeepers make mistakes when harvesting honey, and these errors can impact both the yield and the health of the hive. One major mistake is harvesting too early, which results in honey with high moisture content that can ferment quickly. On the other hand, waiting too long to harvest can mean losing honey to robbing bees, pests, or even the bees consuming it themselves.
Another critical mistake is taking too much honey from the hive. Bees need an adequate supply to survive through colder months, and if they don’t have enough, they may starve. Always leave a sufficient amount, especially if you’re unsure about the upcoming nectar flow.
Improper handling of equipment is another common pitfall. Using too much smoke can alter the taste of the honey, while rough handling of frames can cause unnecessary damage to the comb, making it harder for bees to rebuild. Additionally, failing to properly clean and sanitize extraction tools can introduce bacteria or unwanted debris into the honey, compromising its quality.
Lastly, poor storage practices can ruin an otherwise perfect harvest. Storing honey in humid conditions or in containers that aren’t airtight can lead to crystallization or spoilage. Properly bottling and labeling your honey ensures long-term freshness and the best possible taste.
Conclusion: When & How to Harvest Honey for Maximum Yield and Quality
Harvesting honey is both an art and a science. By paying close attention to hive conditions, using the right techniques, and being mindful of the needs of your bees, you can enjoy a bountiful harvest while ensuring your colony thrives.
Whether you’re harvesting honey for personal use or selling it, following these best practices will help you get the best flavor, texture, and longevity from your honey. If you have any questions or experiences to share, I’d love to hear about them in the comments below!


Leave a Reply