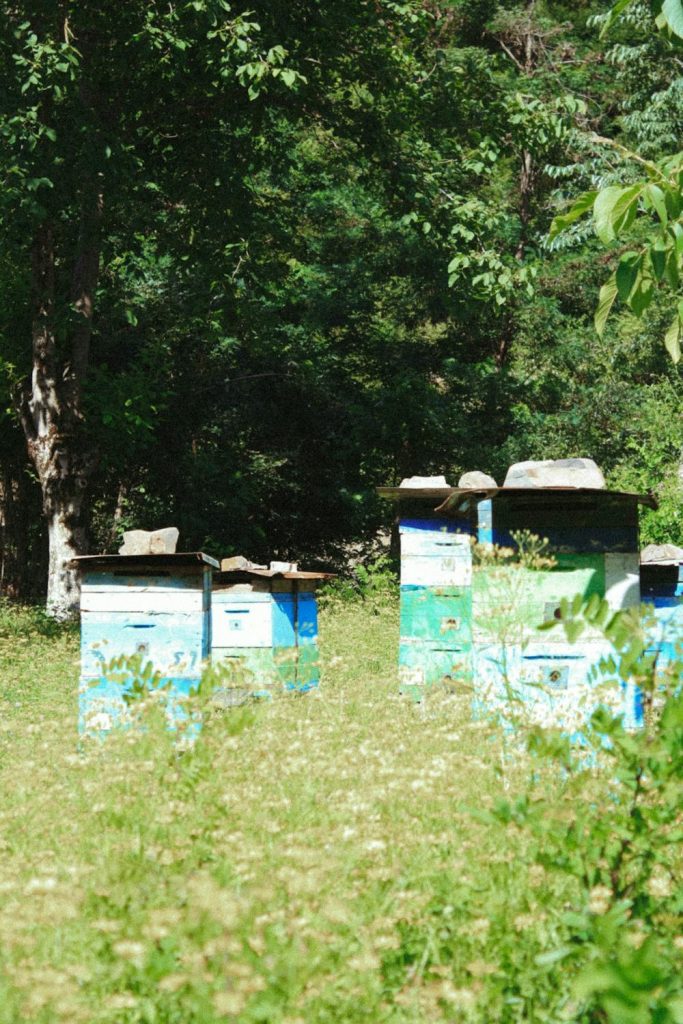
As winter’s grip loosens and the first hints of spring emerge, beekeepers everywhere begin itching to check on their colonies. After months of wondering how your bees fared through the cold months, spring represents both opportunity and challenge. Spring management isn’t just about ensuring survival—it’s about setting the stage for thriving colonies that will produce abundant honey harvests and maintain robust health throughout the year. In this comprehensive guide, I’ll walk you through everything you need to know about spring beekeeping, from your first hive inspection to swarm prevention strategies and beyond.
Early Spring Assessment
Timing Your First Inspection
The question I hear most often from newer beekeepers is: “When can I open my hives?” My answer is always to watch both the weather and your bees’ behavior rather than the calendar.
Wait for a calm, sunny day with temperatures above 55°F (13°C). Ideally, you want to see significant foraging activity at the entrance before disturbing the cluster. Early spring inspections should be brief—no more than 5-10 minutes—to avoid chilling the brood.
In my northern apiary, this typically happens in mid-to-late March, while my southern colonies might be ready for inspection as early as February. Your local climate will dictate your timing, but patience pays off. Rushing an inspection during marginal weather can set your colony back significantly.
What To Look For
During your first inspection, focus on answering these critical questions:
- Did the colony survive intact? Sadly, winter losses are part of beekeeping. If you find a dead colony, determine the cause before reusing equipment.
- How large is the surviving cluster? I classify my spring colonies as strong (covering 6+ frames), medium (3-5 frames), or weak (fewer than 3 frames). This initial assessment guides my entire spring management approach.
- Where are the bees in the hive? Clusters near the top of the hive often indicate they’ve moved up through winter stores and may need immediate feeding.
- Is there evidence of disease or pest problems? Check bottom boards for unusual debris, mite drop, or signs of dysentery.
I keep a simple notebook with each hive’s condition rated from 1-5, which becomes my roadmap for the season. Those first observations tell me which colonies need immediate intervention and which can follow my standard spring management plan.
Queen Status and Brood Pattern
Nothing impacts a colony’s spring development more than its queen. Finding and assessing your queen should be a priority during early spring inspections.
Locating and Evaluating Your Queen
I don’t always find the queen during brief spring inspections—and that’s okay. Instead, I look for evidence of her presence: fresh eggs and a solid brood pattern. Eggs stand upright for their first 24 hours, so finding them confirms recent queen activity.
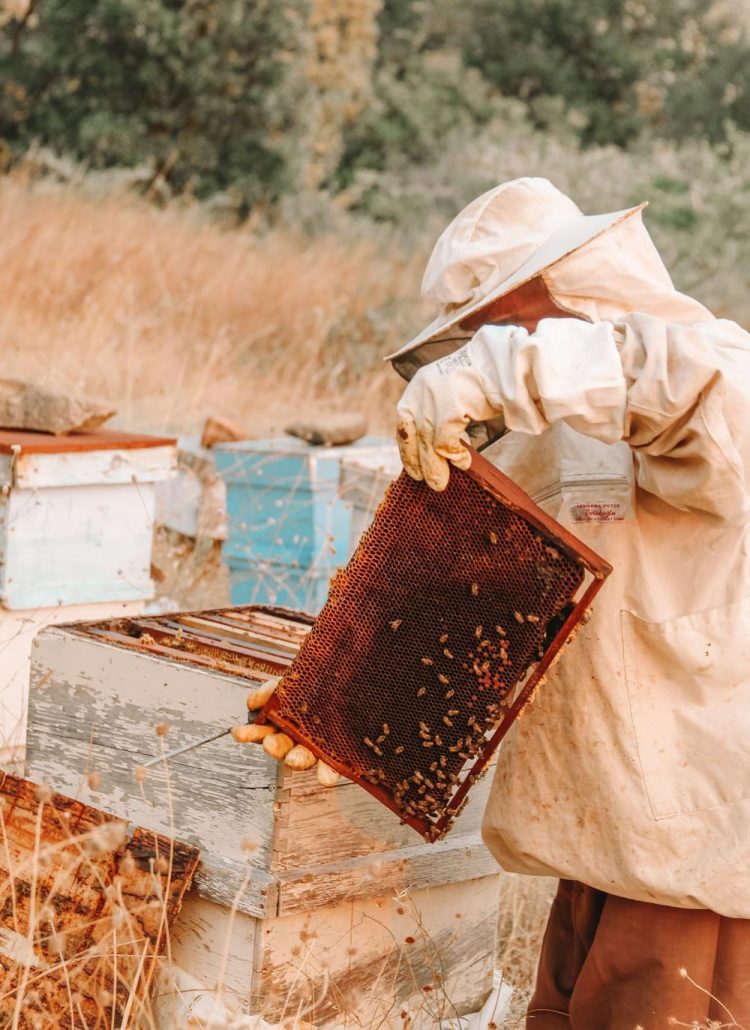
When examining brood frames, I look for:
- A tight pattern where cells are uniformly filled
- Mostly worker brood (drone cells will increase as spring progresses)
- Few skipped cells within the brood pattern
- Healthy larvae in “C” shapes lying flat in their cells
A spotty, irregular pattern might indicate an aging queen, disease problems, or a failing queen. Early spring is the perfect time to address queen issues before they hamper the colony’s growth curve.
When to Requeen
In my experience, these scenarios warrant spring requeening:
- Queens over two years old, especially if brood pattern is declining
- Inconsistent brood patterns with many skipped cells
- Excessive drone production in worker cells
- Aggressive or undesirable colony traits
If you decide to requeen, early spring offers advantages—the colony is smaller and easier to manage, and a new queen has time to hit her stride before the main nectar flow.
I prefer to wait until sustained warm weather before introducing a new queen, typically in April in my region. For early spring requeening, I use queen cells or caged mated queens rather than attempting to have queens mate during unpredictable weather.
See More: Inside the Hive: What Makes the Queen Bee So Special?
Food Reserves and Spring Feeding
Even colonies that survived winter with adequate stores can face starvation in spring. As brood rearing accelerates, food consumption increases dramatically just when natural resources may still be scarce.
Evaluating Food Stores
During early inspections, I heft each hive from the back to gauge weight. This old-fashioned technique gives me a quick assessment of honey stores. Additionally, I visually inspect frames, looking for:
- At least 2-3 frames with capped honey or stored syrup
- Pollen reserves or fresh pollen being brought in
- The ratio of bees to food (larger clusters need proportionally more)
A colony should have at least 15 pounds of honey reserves heading into spring—roughly 3 deep frames fully filled. If stores are light, immediate action is required.
Emergency Feeding Techniques
When colonies need immediate food, I use these approaches:
- Frame feeding: The fastest solution is to move a honey frame from a resource hive directly next to the cluster.
- Sugar boards or mountain camp method: For quick carbohydrate emergency feeding, I place dry sugar on newspaper directly above the cluster.
- Candy boards: Hard sugar candy placed above the cluster provides long-lasting emergency food.
- Syrup feeding: Once temperatures are consistently above 50°F (10°C), 1:1 sugar syrup stimulates both consumption and brood rearing.
For my struggling colonies, I provide both carbohydrates and protein. Commercial pollen substitute patties placed directly above the brood nest support spring buildup when natural pollen is limited.
Remember: once you start feeding, you must continue until natural nectar flows begin. The colony will expand brood rearing based on available resources, and stopping abruptly can lead to brood starvation.

Disease and Pest Management
Spring is the ideal time to identify and address health issues before they escalate during the busy season.
Varroa Mite Monitoring and Treatment
I perform an alcohol wash or sugar shake on representative colonies in each apiary as soon as weather permits. Spring mite counts provide baseline data and inform my treatment decisions.
If counts exceed 1-2 mites per 100 bees in early spring, I treat immediately. My preferred spring treatments include:
- Formic acid-based products: Effective against mites under capped brood, but temperature-sensitive and can interrupt brood rearing
- Thymol-based treatments: Gentler but may require longer treatment periods
- Oxalic acid dribble: For nearly broodless colonies, typically very early spring
The key is treating before the spring population explosion, which would otherwise multiply your mite problems. I coordinate treatments to finish before honey supers go on.
Nosema and Other Spring Diseases
Nosema (particularly Nosema ceranae) often peaks in late winter/early spring. Signs include:
- Spotty brood patterns
- Dysentery staining on exterior of hives
- Crawling bees unable to fly
- K-wing (where wings are displaced)
For suspected Nosema cases, I improve hive ventilation and consider feeding medicated syrup if confirmed by microscopic analysis.
Other spring conditions to watch for include:
- Chalkbrood: Often emerges during damp spring conditions
- European Foulbrood: Can appear when colonies are stressed
- Idiopathic Brood Disease Syndrome: Often confused with other brood diseases
Good ventilation, strong queens, and proper nutrition are my first defenses against these opportunistic diseases. Addressing them early prevents summer complications.
Hive Equipment and Expansion
Spring cleaning and equipment preparation are essential tasks that boost colony performance and prevent issues later in the season.
Spring Cleaning
On the first suitable day, I clean bottom boards of winter debris. This accumulated material can harbor pathogens and block ventilation. For serious cases, I swap in clean equipment and take the dirty components home for thorough cleaning.
I check for and address:
- Moisture issues in the hive
- Moldy frames (which I replace rather than reuse)
- Propolis buildup that might impede frame manipulation
- Damaged wooden ware needing repair or replacement
Clean equipment isn’t just aesthetic—it’s functional. Removing debris from entrance reducers and ensuring proper ventilation helps colonies regulate temperature during unpredictable spring weather.
Adding Space at the Right Time
Knowing when to add supers requires balancing several factors:
- Colony strength: I wait until bees cover 7-8 frames in the current box before adding another.
- Nectar availability: I track blooming patterns in my area and add space just before major flows begin.
- Weather patterns: Unusually warm springs might necessitate earlier expansion.
- Queen excluder timing: I place queen excluders only when consistent nectar flow begins and colonies are strong.
For building strong colonies, I often use a technique called “checkerboarding” in the brood chamber—alternating empty drawn comb with frames of brood to encourage expansion without triggering the swarming impulse.
Swarm Prevention Strategies
Nothing frustrates beekeepers more than watching their carefully tended spring colonies take flight as a swarm. Understanding and preventing swarming is perhaps the most crucial spring management skill.
Recognizing Swarm Preparation
I check for these early warning signs during spring inspections:
- Backfilling of the brood nest with nectar
- Queen cell cups along bottom bars of frames
- Reduced egg-laying by the queen
- Congestion in the brood nest area
- Increased drone production
When I spot these indicators, I implement swarm prevention measures immediately—waiting even a few days can mean the difference between keeping and losing your bees.
Proactive Swarm Management
My multi-pronged approach to swarm prevention includes:
- Space management: Adding supers before they’re completely needed gives bees room to expand.
- Brood nest manipulation: Removing frames of capped brood to make nucleus colonies relieves congestion.
- “Opening the brood nest”: Placing empty drawn comb between frames of brood gives the queen laying space and breaks the swarming trigger.
- Reversing hive bodies: In early spring, moving the bottom box (often empty after winter) to the top gives bees upward expansion room that mimics their natural preference.
- Ventilation improvements: Propping the outer cover slightly during hot spring days reduces heat stress that contributes to swarming.
For colonies showing advanced swarm preparations with queen cells, I perform artificial swarms—essentially creating a controlled split that satisfies the colony’s reproductive urge while keeping all bees in my apiary.
Early Nectar Flows and Foraging
Understanding your local nectar calendar is fundamental to spring management. In my region, spring unfolds in distinct phases:
- Early pollen sources: Maple, willow, and alder provide crucial protein
- First minor nectar flows: Dandelion, fruit blooms, and early clovers
- Major spring flows: Black locust, tulip poplar, or blackberry depending on location
I track blooming times in a dedicated phenology journal, noting when each plant flowers and correlating it with colony development. This record-keeping has proven invaluable for anticipating management needs.
Reading Foraging Behavior
The entrance of a hive tells a story to observant beekeepers. I watch for:
- Pollen diversity: Multiple colors indicate diverse nutrition
- Returning forager numbers: Increases suggest available nectar sources
- Orientation flights: Young bees taking flight indicate growing populations
- Guard bee behavior: Relaxed guards often correlate with good nectar flow
When I see heavy nectar coming in—evidenced by whitened comb tops and the sweet smell at the hive entrance—I add honey supers immediately, even if the colony doesn’t seem crowded yet. Providing space before it’s critically needed prevents the backfilling of the brood nest that triggers swarming.
Supering Strategies for Spring Flows
My approach to adding honey supers follows these principles:
- Start with drawn comb when available to encourage quick storage
- Place the emptiest super closest to the brood nest
- Add the next super before the previous one is 70% filled
- Remove queen excluders during slow flows to encourage movement upward
For spring management in regions with multiple distinct flows, I sometimes harvest after each flow to maintain the distinctive flavor profiles of each honey variety.
Regional Spring Management Considerations
While beekeeping principles remain consistent, regional adaptation is essential. I’ve managed bees in both northern and southern climates, observing these critical differences:
Cold Climate Considerations
In northern regions where I’ve kept bees, spring management focuses on:
- Later inspections (often mid-April)
- Extended feeding periods
- Insulation remaining on hives longer
- Slower supering timeline
- Careful protection from spring cold snaps
Cold climate beekeepers must be particularly attentive to weather forecasts, sometimes delaying management by weeks compared to standard calendars.
Warm Climate Considerations
In southern apiaries, my focus shifts to:
- Earlier inspections (February)
- More aggressive swarm prevention
- Earlier drone culling for mite management
- Protection from spring overheating
- Earlier nectar flow preparations
The extended season in warmer climates allows for more management options but requires vigilance against early swarming and pest buildup.
Microclimate Awareness
Even within the same region, I’ve observed significant variation based on:
- Elevation differences
- Urban heat islands
- Coastal influences
- Agricultural practices
- Protected valleys vs. exposed locations
I encourage beekeepers to connect with local clubs and experienced neighbors to understand these nuances. Adaptation to your specific location often trumps general guidelines.
Conclusion: Spring Beekeeping Guide
By following this progressive approach, you’ll set your colonies up for success through the entire season. The time invested in thoughtful spring management pays dividends in healthier colonies, reduced losses, and ultimately, more abundant honey harvests.
Remember that beekeeping is both science and art—your management should combine careful observation with accumulated knowledge. Each spring teaches new lessons, and I continue to refine my approach based on what my bees show me.
I hope this guide serves you well as you embark on another rewarding season of beekeeping. Here’s to healthy hives and sweet success!



Leave a Reply