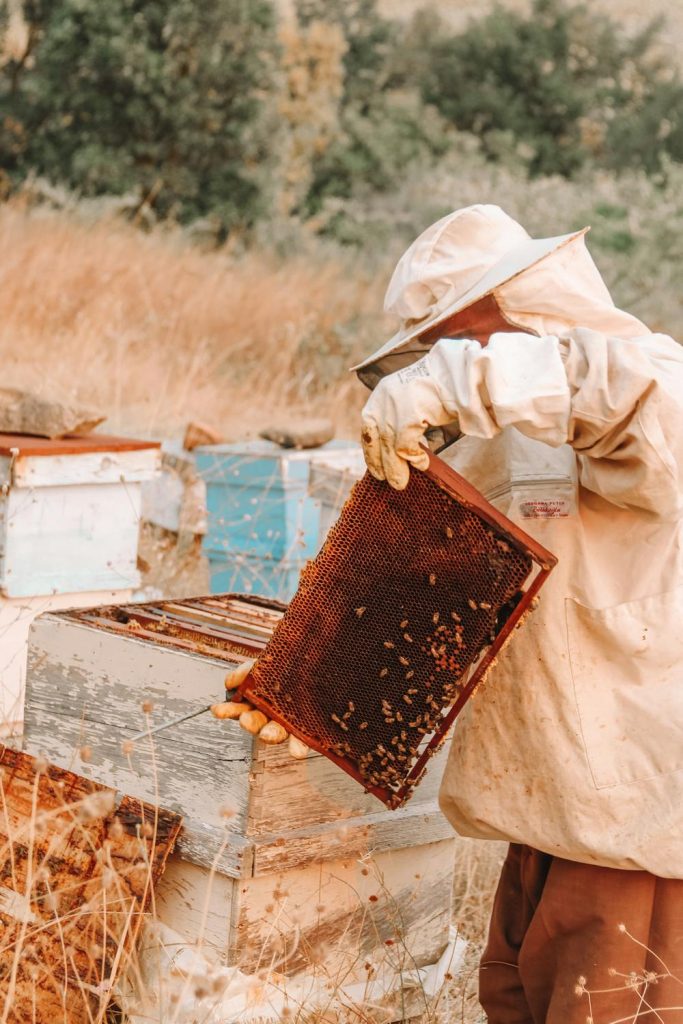
After months of watching my bees work tirelessly, there’s nothing quite as satisfying as harvesting beautiful, golden honeycomb from a thriving hive. But as any experienced beekeeper knows, this delicate process requires careful attention to protect both the precious honeycomb and the colony that created it.
Proper harvesting techniques not only yield better honey but also ensure your colonies remain healthy and productive for seasons to come. Too often I see new beekeepers rush this process, damaging frames, stressing their bees, and ultimately compromising the hive’s future productivity.
In this comprehensive guide, I’ll walk you through my time-tested method for harvesting honeycomb while preserving the integrity of your hive. From knowing when to harvest to properly processing your bounty, you’ll learn everything you need to collect honeycomb successfully while keeping your bees happy.
When to Harvest Honeycomb
The first rule of honeycomb harvesting is simple: never rush the process. Taking honeycomb too early can leave your bees without sufficient resources, while waiting too long might mean missing the peak harvest window.
Signs of Ready Honeycomb
Before I even think about opening a hive for harvest, I look for these clear indicators:
- Capped cells: At least 80% of the cells should be capped with wax. This sealing indicates the honey has reached the proper moisture content (around 18%) and won’t ferment.
- Frame fullness: Frames should be nearly completely drawn out and filled.
- Hive weight: When lifting the back of the hive feels significantly heavier than earlier in the season.
- Bee behavior: Increased activity at the entrance often indicates a productive hive with honey ready for harvest.
I harvested frames that were only partially capped. Big mistake! The resulting honey had excessive moisture content and eventually fermented. Now I only harvest frames that show proper capping.
Seasonal Considerations That Matter
In most regions, major honey flows occur at specific times:
- Spring: Often produces lighter, more delicate honey from fruit blossoms and early flowering plants
- Summer: Usually the main harvest period with the heaviest honey flow
- Fall: Can provide darker, more robust honey from late-blooming flowers and plants
I live in the Northeast, where our main flow comes from mid-June through July. By understanding your local bloom schedule and honey flows, you can better predict when your colonies will have surplus honey to harvest.
Remember: always leave enough honey for your bees to survive the winter. In colder climates, this could mean 60-80 pounds of honey, while warmer regions might require 30-40 pounds.
Essential Equipment
Having the right tools not only makes honeycomb harvesting easier but also reduces stress on your bees and prevents hive damage. Here’s what I keep in my harvesting kit:
Protective Gear
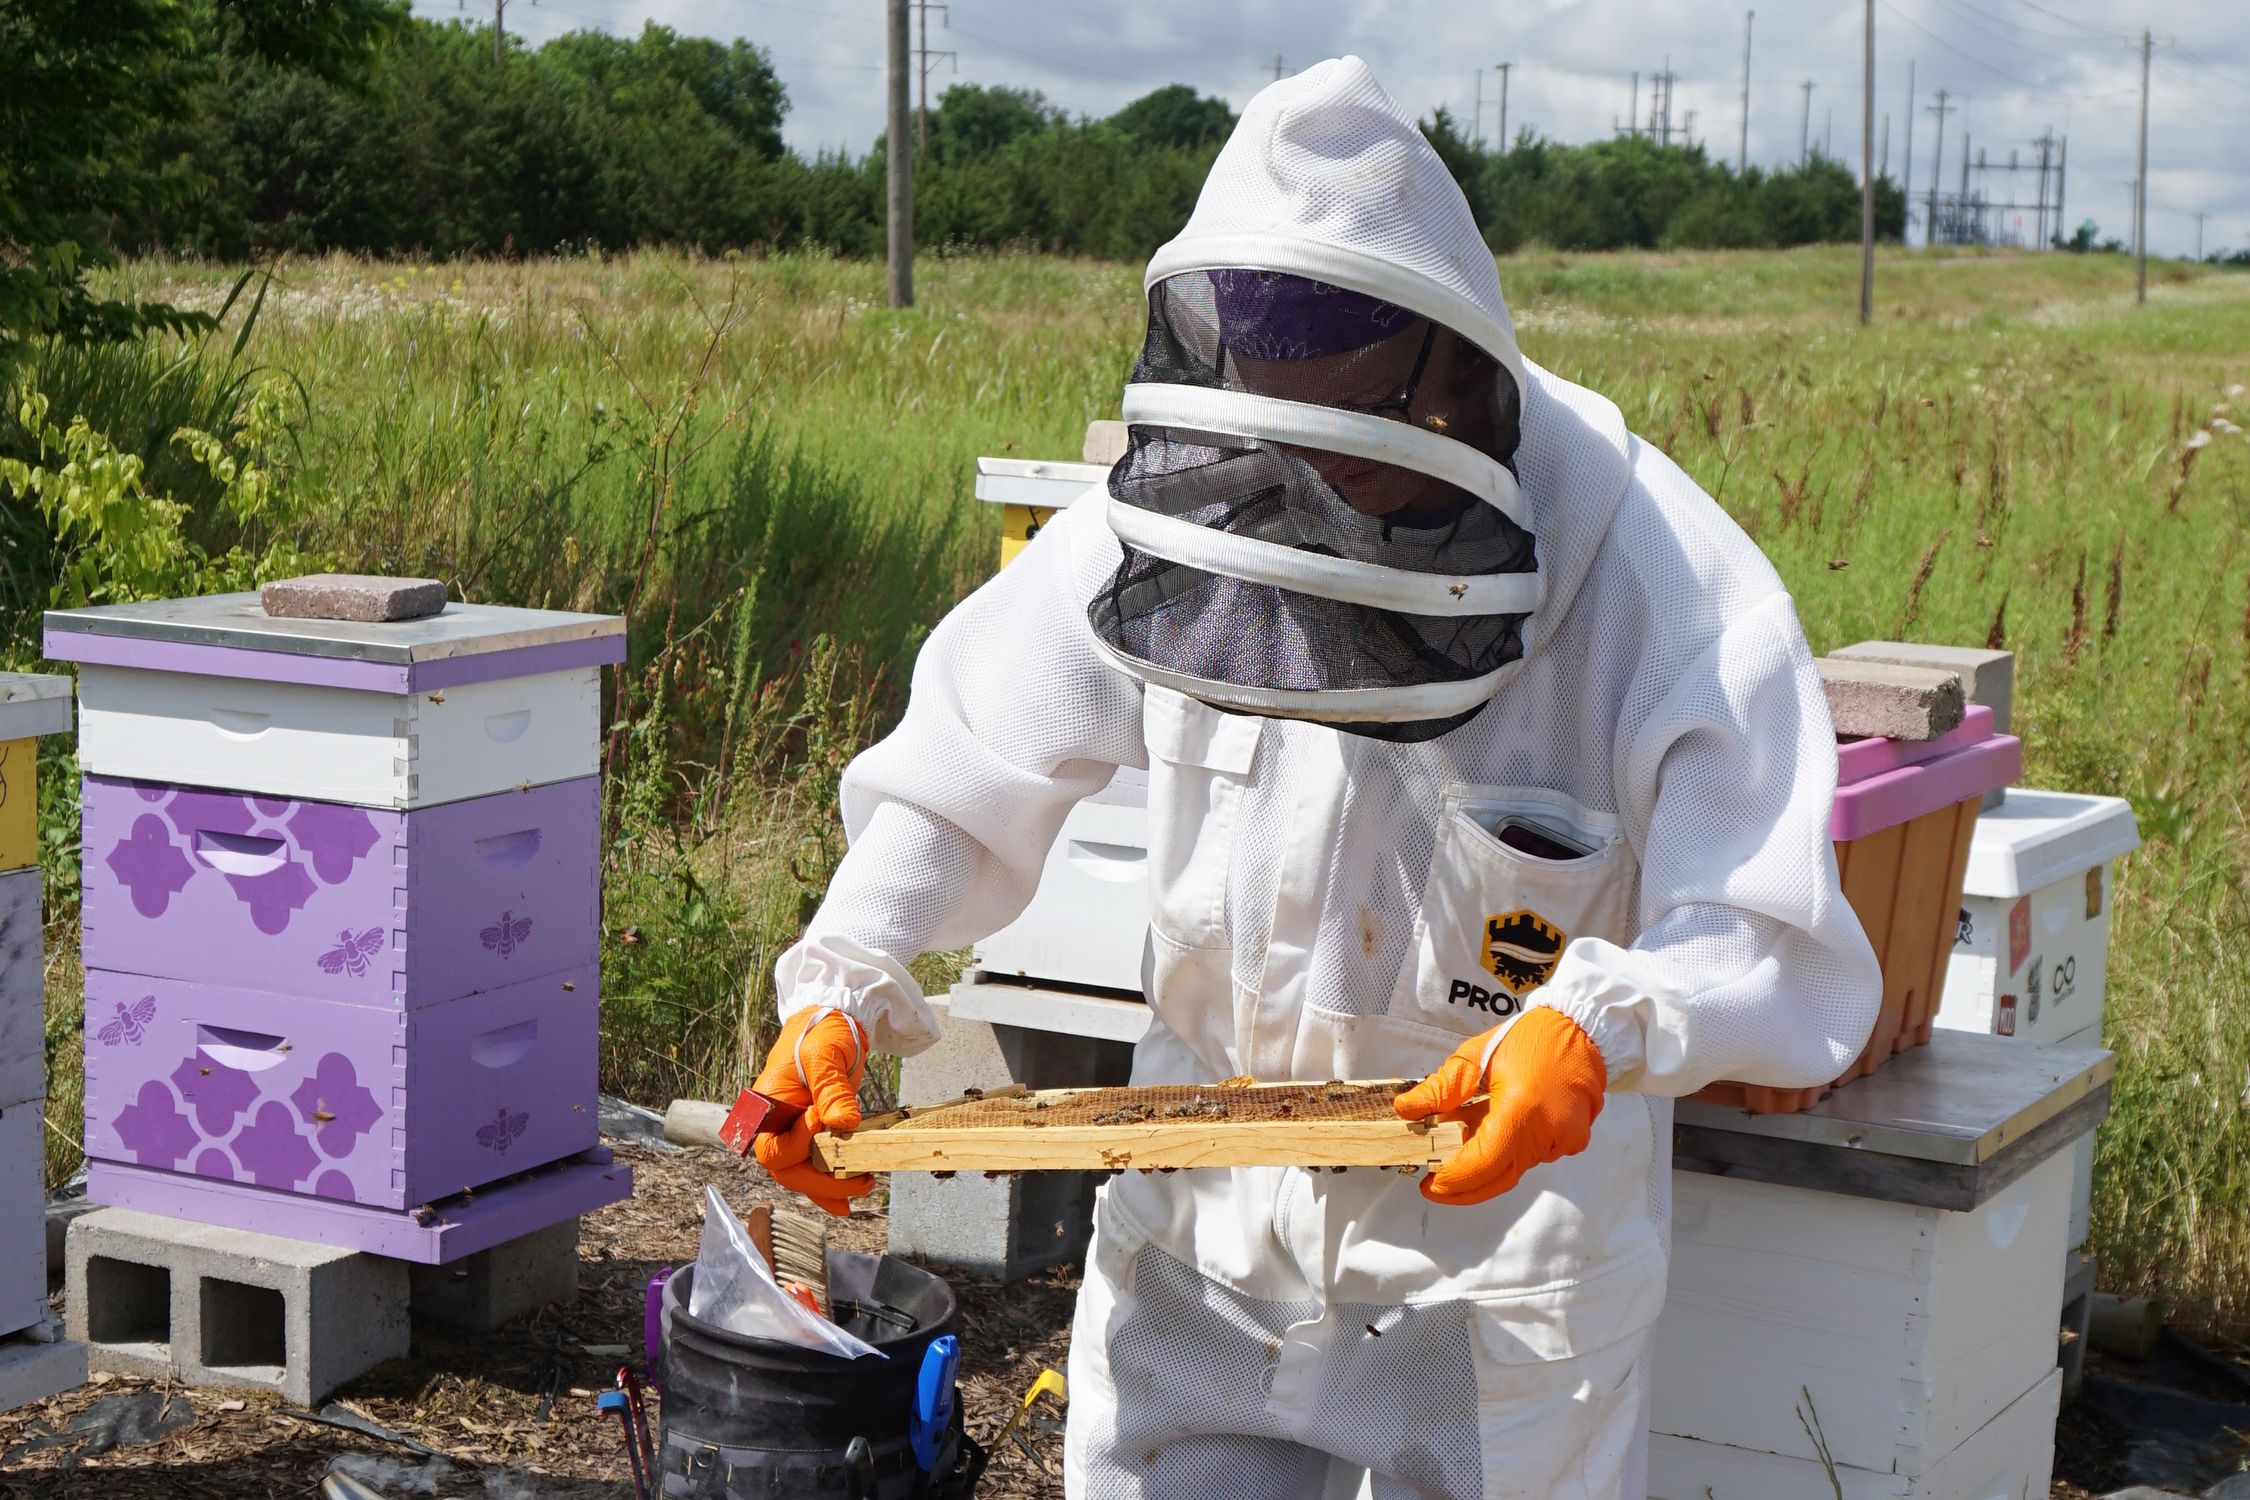
I’ve learned the hard way that harvesting honey is when bees are most likely to get defensive. I always wear:
- Full beekeeping suit with veil
- Thick gloves (though some experienced beekeepers prefer nitrile gloves for better dexterity)
- Closed-toe boots
- Ankle straps to prevent bees from climbing up pant legs
Harvesting Tools
- Hive tool: The beekeeper’s best friend for gently separating frames and boxes
- Bee brush: For gently removing bees from frames (I prefer horsehair brushes as they’re softer on the bees)
- Uncapping knife or fork: For harvesting traditional extracted honey
- Frame grip: Makes removing frames easier with less hive disturbance
- Smoker: Properly used, it calms bees during the harvesting process
Collection Equipment
- Food-grade buckets with lids: For transporting harvested frames
- Clean cutting board: For cutting comb directly from frames
- Sharp knife: I use a thin, non-serrated knife specifically for cutting honeycomb
- Clean containers: For storing cut comb honey
- Cheesecloth or strainers: For separating honey from wax later on
Investing in quality equipment pays dividends in the long run. My first hive tool bent after just one season, but the premium stainless steel one I purchased as a replacement has served me faithfully for over a decade.
Pre-Harvest Preparation
How you prepare for the harvest has a tremendous impact on your success and the stress level of your bees.
Timing Your Approach
I’ve found that the timing of your harvest makes all the difference:
- Best time of day: Early to mid-morning (around 10 am) after foragers have left but before the full heat of the day
- Weather conditions: Choose a warm, sunny day with little wind
- Avoid: Rainy days, extremely hot days, or when storms are approaching
One summer, I attempted to harvest during late afternoon when many foragers were returning. The increased defensive behavior made the process much more difficult than necessary.
Preparing Your Work Area
Before opening any hives, I:
- Set up a clean, shaded processing area away from the hives (at least 30 feet)
- Prepare all containers and equipment so they’re ready when needed
- Have a water source nearby for cleaning up sticky situations
- Inform family members or neighbors about my harvesting plans
Calming Techniques for a Smoother Harvest
Proper use of a smoker is essential for a stress-free harvest:
- Light your smoker with natural materials (I prefer pine needles topped with a small amount of dry leaves)
- Ensure you have cool, white smoke rather than hot, billowing smoke
- Apply a few gentle puffs at the hive entrance, then wait 30 seconds
- When opening the hive, apply a few more gentle puffs across the top bars
Remember: the goal is to interrupt the bees’ alarm pheromone communication, not to overwhelm them with smoke. Too much smoke can agitate the bees further and even taint the flavor of your honey.
The Harvesting Process: Step by Step
With preparations complete, it’s time for the careful work of actually harvesting the honeycomb.
Approaching and Opening the Hive
- Approach from the side or back of the hive, staying out of the flight path
- Give a few gentle puffs of smoke at the entrance
- Wait 30-60 seconds for the smoke to take effect
- Carefully remove the outer and inner covers, applying a small amount of smoke as needed
- Avoid quick movements or banging equipment that can startle the bees
Selecting the Right Frames
Not all frames are suitable for harvesting. I look for:
- Frames that are at least 80% capped
- Frames without brood (developing bee larvae)
- Frames from honey supers rather than the brood boxes
- Older comb that may need replacement anyway (if you’re harvesting cut comb)
In my early beekeeping days, I accidentally harvested a frame containing some brood cells. Not only did this harm the developing bees, but it also contaminated the honey with an off-flavor. Now I always examine frames carefully before selecting them for harvest.
Removing Frames With Minimal Disturbance
- Use your hive tool to gently loosen the frame
- Lift the frame straight up to avoid rolling or crushing bees
- Hold the frame by the end bars, not over the hive (to prevent dripping honey onto the bees)
- Examine both sides to confirm it’s suitable for harvest
Clearing Bees From Frames
Several methods work for removing bees from honeycomb frames:
- Brushing method: Hold the frame over the hive and use a bee brush to gently sweep bees downward off the comb
- Shaking method: Give a quick, firm downward shake to dislodge bees back into the hive
- Bee escape boards: Placed between honey supers and brood boxes 24-48 hours before harvest
- Bee blower: A gentle air blower specifically designed for removing bees
I personally prefer a combination approach—a gentle shake followed by careful brushing for any remaining bees. This minimizes stress while efficiently clearing frames.
Preventing Robbing Behavior
Once you start harvesting, the exposed honey can trigger robbing behavior from your own bees or neighboring colonies. To prevent this:
- Work quickly but carefully
- Keep honey supers covered when not actively removing frames
- Move harvested frames to a closed container immediately
- Consider using a robbing screen if harvesting during a dearth period
Cutting and Collecting Honeycomb: Preservation Techniques
There are several ways to harvest honeycomb, depending on your end goal.
Cut Comb Honey: The Purest Form
For beautiful sections of honeycomb:
- Place the frame on a clean cutting board
- Use a sharp, thin knife to cut the comb into desired sections (typically 4×4 inches)
- Let excess honey drain briefly
- Carefully transfer sections to clean containers
Chunk Honey: The Best of Both Worlds
For attractive jars containing both liquid honey and pieces of comb:
- Cut smaller sections of comb (about 2×2 inches)
- Place these pieces in jars
- Fill the remaining space with strained liquid honey
- Ensure no air bubbles are trapped beneath the comb sections
Preserving Frame Integrity
When cutting honeycomb, take care to:
- Cut the comb, not the frame itself
- Leave a small strip of comb foundation intact if you plan to reuse the frame
- Avoid damaging the wooden frame components
- Clean frames thoroughly before storage or reuse
I once damaged several valuable frames by cutting too aggressively into the wood. Now I use a thin fillet knife and take my time with each cut.
Frame Care and Replacement: Maintaining Hive Health
Proper frame management is crucial for long-term hive health and productivity.
Cleaning Harvested Frames
After removing honeycomb, you have several options for the frames:
- Return wet frames to the hive: Place them back in a super above the inner cover for the bees to clean. They’ll remove remaining honey but leave the wax structure intact.
- Wash frames: For deeper cleaning, use warm water (never hot, which melts wax) to remove propolis and excess honey.
- Scrape frames: Use your hive tool to remove excess burr comb and propolis.
When to Replace vs. Reuse Frames
As a general rule:
- Replace brood frames every 3-5 years to reduce disease risk
- Replace honey frames when the comb becomes very dark or misshapen
- Consider replacing any frames with signs of disease or pest infestation
Introducing Foundation for New Comb
When replacing harvested frames with foundation:
- Use food-grade beeswax foundation for best results
- Ensure the foundation is properly secured in the frame
- Position new frames between drawn frames to encourage bees to work on them
- Consider using starter strips rather than full foundation sheets for more natural comb building
During a strong honey flow, I place supers with new foundation on strong hives. The abundant nectar motivates bees to quickly draw out new comb.
Post-Harvest Hive Care: Supporting Your Colony
How you care for your hive after harvest greatly impacts its future productivity.
Assessing Hive Health After Harvesting
I always conduct a quick post-harvest inspection to:
- Check for any damage to frames or boxes
- Verify the queen is still present and laying
- Assess the remaining honey stores
- Look for signs of stress or disease
Feeding Guidelines When Necessary
If you’ve harvested late in the season or taken a significant amount of honey, consider:
- Providing a 2:1 sugar syrup (2 parts sugar to 1 part water) to help bees replenish stores
- Feeding pollen substitutes if natural pollen is scarce
- Monitoring consumption rates to ensure adequate winter stores
I once harvested too much honey from a new colony and failed to feed them adequately afterward. The colony struggled through winter and barely survived. Now I’m much more conservative with new colonies, taking only truly excess honey and providing supplemental feed when necessary.
Monitoring Colony Recovery
In the weeks following harvest, pay attention to:
- General hive activity at the entrance
- The rate of nectar and pollen collection
- The queen’s egg-laying pattern
- Any signs of robbing or pest problems
A healthy colony will quickly adjust to the post-harvest conditions and continue normal activities.
Processing and Storing Honeycomb: Preserving Your Harvest
Once you’ve successfully harvested your honeycomb, proper processing and storage ensure you’ll enjoy its quality for months to come.
Handling Cut Comb Honey
For the best cut comb honey:
- Allow excess honey to drain from cut sections (about 30-60 minutes)
- Gently pat dry the outside of sections with paper towels
- Package in clear plastic containers designed for comb honey
- Label with harvest date and floral source if known
Storage Requirements
To maintain quality:
- Store honeycomb at room temperature (around 70°F/21°C)
- Keep away from direct sunlight, which can degrade the honey
- Avoid refrigeration, which accelerates crystallization
- Store in airtight containers to prevent absorption of moisture and odors
Properly stored, cut comb honey can last for many months, though its appearance is most attractive in the first few weeks after harvest.
Creative Uses for Honeycomb
I often share these ideas with customers who purchase my honeycomb:
- Serve with cheese boards (particularly with mild cheeses like brie)
- Spread on warm toast or biscuits
- Add to yogurt or oatmeal
- Use as a natural sweetener in tea
- Chew as a natural treat (the wax can be discarded)
Common Issues
Even experienced beekeepers encounter difficulties during honeycomb harvesting. Here’s how I address common problems:
Dealing With Defensive Bees
If your bees become unusually aggressive during harvest:
- Close up the hive and return another day
- Try harvesting earlier in the morning
- Ensure you’re not wearing scented products
- Consider requeening if the colony is consistently aggressive
Addressing Damaged Frames
For frames damaged during harvest:
- Salvage what you can of the comb and honey
- Clean the frame thoroughly
- Replace broken parts if possible or use the entire frame as a template for building a new one
- Install fresh foundation before returning to the hive
Recovering From Mistakes
We all make mistakes, but how we recover matters:
- If you accidentally take frames with brood, return them immediately
- If you harvest too much honey, provide supplemental feeding
- If you damage the queen during inspection, consider ordering a replacement queen
One year I discovered too late that I’d taken too much honey before winter. I immediately prepared fondant candy boards as emergency feed and monitored the hive closely through winter. The colony survived, and I learned a valuable lesson about leaving adequate stores.
Conclusion: How to Harvest Honeycomb Without Damaging Your Hive
Honeycomb harvesting represents the sweet reward of beekeeping, but it requires balancing our desire for honey with the needs of our bees. By following these guidelines, you’ll not only collect beautiful honeycomb but also maintain strong, productive colonies year after year.
Remember these key principles:
- Harvest only truly surplus honey, leaving adequate stores for your bees
- Use gentle, mindful techniques that minimize stress on the colony
- Maintain and replace equipment regularly
- Monitor your hive’s health and recovery after harvest
- Process and store your honeycomb properly to preserve its quality
As beekeepers, we’re not just honey harvesters—we’re stewards of these remarkable creatures that do so much for our ecosystem. By harvesting honeycomb responsibly, we ensure our bees will continue to thrive and produce for years to come.



Leave a Reply