I had the privilege of catching a honey bee swarm last month. There’s something magical about the moment when thousands of bees decide to follow their queen and venture out to establish a new colony. This natural process, while potentially intimidating to witness, presents an incredible opportunity for beekeepers.
In this comprehensive guide, I’ll walk you through everything you need to know about finding, capturing, and successfully installing a honey bee swarm. Whether you’re a novice beekeeper looking to expand your apiary or an experienced keeper wanting to refine your swarm-catching techniques, this article will provide you with practical, field-tested advice.
What Are Bee Swarms?
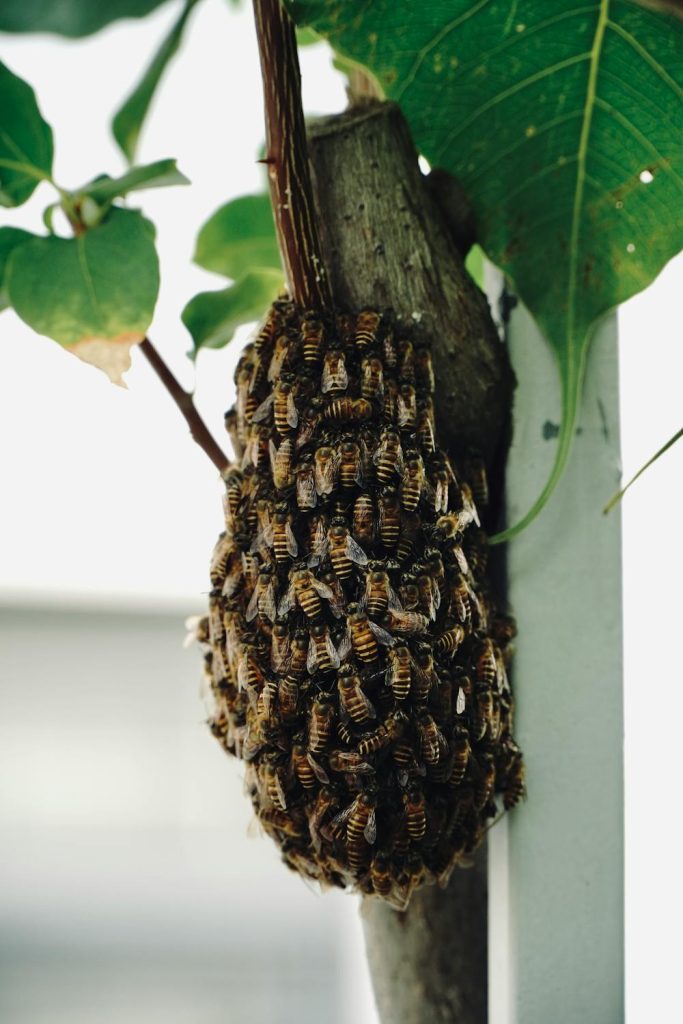
Before diving into the practical aspects of swarm catching, it’s important to understand what a swarm actually is. A honey bee swarm is essentially the natural way honey bee colonies reproduce. When a colony becomes strong and crowded, usually in spring or early summer, the bees prepare to divide into two colonies.
The old queen, along with approximately 60% of the worker bees, leaves the original hive to find a new home. Before leaving, the workers fill their honey stomachs with honey to sustain them and to have resources for building new comb. This mass exodus is what we call a swarm.
Contrary to popular belief, bees in a swarm are actually quite docile. With no brood or honey stores to defend, and full of honey, they’re typically at their gentlest. I’ve often caught swarms with minimal protective gear, though I still recommend full protection, especially for beginners.
In my region, swarm season typically runs from April through June, with a peak in May. However, climate change has been shifting these patterns, and I’ve caught swarms as early as March and as late as August in recent years. Weather conditions greatly influence swarming behavior—bees prefer to swarm on warm, sunny days with minimal wind, typically between 10 AM and 2 PM.
Essential Equipment to Catch a Bee Swarm
Protective Gear:
- Full bee suit or jacket with veil
- Gloves (I prefer nitrile-coated gardening gloves for dexterity)
- Boots that bees can’t crawl up into
Capture Tools:
- Pruning shears or a small saw
- Spray bottle filled with sugar water (1:1 ratio)
- White sheet or tarp
- Ladder with stabilizer attachments
- Rope for securing containers when working at height
Containers:
- Cardboard boxes with ventilation holes
- Dedicated nuc box
- Five-frame nuc with frames (my preferred option)
- Swarm trap/bait hive
Installation Equipment:
- Complete hive setup with frames
- Entrance reducers
- Feeding equipment
- Queen excluder (optional)
I’ve found that a five-frame nuc box with one or two frames of drawn comb is the most versatile container for catching swarms. The drawn comb gives the bees something familiar to cluster on, and the box is easy to transport. For swarms in hard-to-reach places, I keep a collapsible cardboard box in my kit that can be expanded once I reach the swarm.
See More: Beekeeping Starter Kits: What Every Beginner Needs to Get Started
How to Find Swarms
When I first started beekeeping, I was eager to catch swarms but had no idea how to find them. Now, I rarely need to seek them out—they find me. Here’s how I became the go-to “bee person” in my community:
- Build a network: I contacted local fire departments, police stations, pest control companies, and arborists to let them know I collect swarms. I left my business cards and explained the difference between swarms and established colonies.
- Join local groups: I’m active in my local beekeeping association and neighborhood social media groups. When people post about “a ball of bees,” I’m often tagged.
- Educate your neighbors: I give presentations at community centers and schools about the importance of honey bees. This creates awareness and often leads to swarm calls.
- Set up swarm traps: Each spring, I place 5-10 swarm traps around my property and in locations where friends allow me to place them. My success rate has been about 40% with these traps.
A well-designed swarm trap should be about 40 liters in volume (roughly the size of a deep brood box), placed about 8-15 feet off the ground, with a small entrance facing south or southeast. I bait mine with a few drops of lemongrass oil, which mimics the queen’s pheromone, and a frame of old brood comb. The combination of the right sized cavity and familiar smells is irresistible to scout bees looking for a new home.
Swarm Capture Techniques
In my years of swarm catching, I’ve encountered swarms in all sorts of locations. Here are the techniques I use for different scenarios:
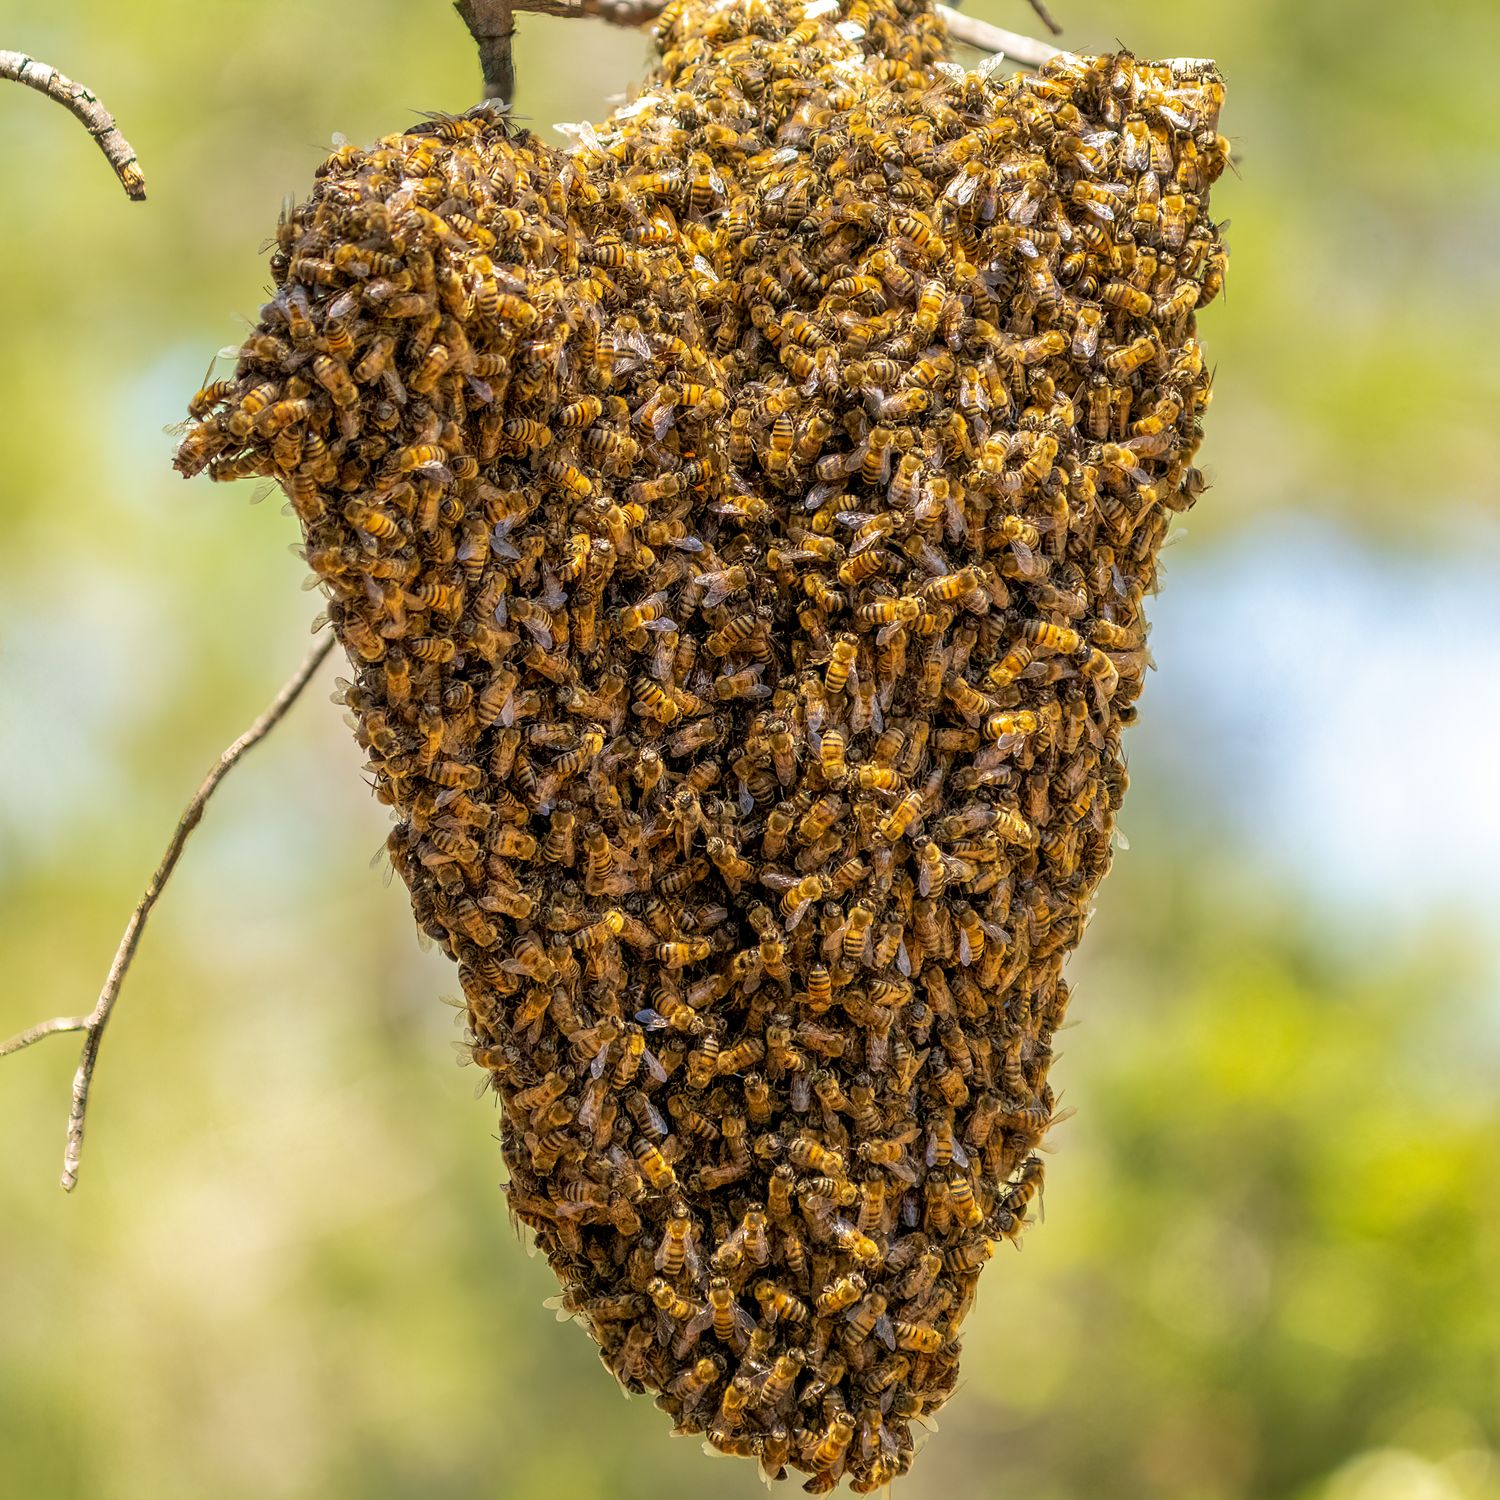
The Classic Branch Swarm
The easiest swarms to catch are those hanging from accessible branches. My approach for these is:
- I place a box or nuc directly under the swarm, ideally with a frame of drawn comb inside.
- With a quick, decisive movement, I sharply shake the branch to dislodge the bees into the container. The key is confidence—hesitant shaking often results in bees flying everywhere rather than dropping into the box.
- I close the container partially, leaving a small opening for flying bees to enter.
- I watch for signs that the queen is inside. If bees at the entrance are facing inward with raised abdomens, exposing their Nasonov glands and fanning, it’s a good sign they’re calling other bees to join the queen inside.
- After most flying bees have entered (usually 15-30 minutes), I close the container fully, ensuring proper ventilation, and transport it to its new home.
The Hard-to-Reach Swarm
For swarms high in trees or in awkward positions, I’ve developed these approaches:
- If reaching the swarm is possible but challenging, I use an extension pole with a small container attached to gently scoop the swarm from below.
- For higher swarms, I’ve occasionally used a bucket truck or enlisted the help of arborist friends.
- When all else fails, I set up a bait box on a tall pole near the swarm. With patience, the scout bees sometimes convince the swarm to relocate to my more accessible container.
One memorable catch involved a swarm 30 feet up in a pine tree. Rather than attempting a dangerous climb, I set up a nuc box with drawn comb on a platform about 10 feet high and waited. The next morning, the swarm had moved into my box overnight.
Swarms in Structures
Catching swarms that have moved into structures requires special techniques:
- I determine if it’s truly a fresh swarm (less than 48 hours) or an established colony. True swarms haven’t built comb yet.
- For fresh swarms in wall voids, I sometimes use a bee vacuum with very gentle suction.
- Alternatively, I set up a one-way exit near their entrance, with a nuc box containing drawn comb placed nearby. The bees can leave but not return, and eventually gather in my prepared box.
A word of caution: established colonies that have built comb require much more extensive removal procedures that often involve opening walls—definitely not a simple swarm catch!

Safety First: Tips for Catching Bee Swarms
While the thrill of capturing a swarm can be exciting, I never compromise on safety. Here are my non-negotiable safety protocols:
- I always assess the situation before attempting a capture. If a swarm is in a dangerous location (near power lines, requiring unsafe climbing, etc.), I pass on the opportunity.
- Even though swarm bees are generally docile, I wear at least a veil and often full protective gear. Stings near the eyes can be particularly dangerous.
- I carry an EpiPen and know how to use it, even though I’m not allergic. If I bring along helpers or trainees, I make sure they’re aware of any allergies.
- When working with ladders, I always have someone holding the base and follow proper ladder safety guidelines.
- I’m mindful of public spaces—if a swarm is in a busy area, I either section off the area or wait until pedestrian traffic is minimal.
Last year, I got a call about a bee swarm in a playground. Rather than causing alarm by showing up in full bee gear during busy hours, I returned at dusk when the playground was empty. The capture went smoothly, and the community was grateful for the discretion.
How to Transport Your Captured Swarm
Once I’ve successfully captured a swarm, getting them home safely is the next challenge. Here’s my approach:
- I secure the container with straps or rope, ensuring it won’t tip during transport.
- Adequate ventilation is crucial—bees can overheat quickly in a sealed container. I use containers with built-in ventilation or create screened openings.
- If possible, I transport the bee swarm during cooler evening hours to prevent overheating.
- I place the container in my vehicle out of direct sunlight, sometimes with a damp towel over it on particularly hot days.
- I drive smoothly—no sudden stops or sharp turns that could dislodge the cluster.
The longest I’ve transported a swarm was about three hours during a particularly hot July day. I placed the nuc in a cooler with ice packs (not touching the box directly) and gave them extra ventilation. They arrived at their new home in perfect condition, despite the challenging conditions.
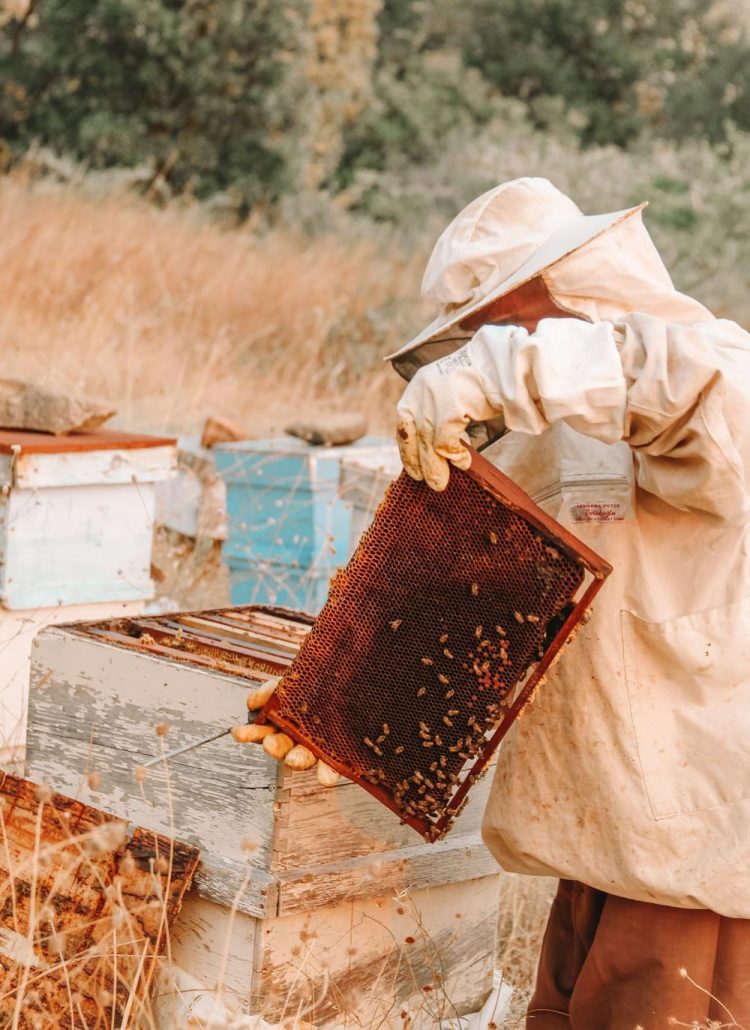
How to Install the Bee Swarm in Their New Home
Arriving home with a captured swarm is exciting, but proper installation is crucial for ensuring they stay and thrive. Here’s my step-by-step process:
- I prepare a hive before going out to catch swarms—typically a single brood box with 5-8 frames of foundation or drawn comb if available.
- Upon returning, I place the hive where it will permanently stay, ideally in a location with morning sun and afternoon shade.
- To transfer the swarm, I have two methods:
- If they’re in a nuc box with frames, I simply transfer the frames to the new hive.
- If they’re in a cardboard box or other container, I place a sheet in front of the hive entrance extending to the ground, creating a ramp. I gently pour the bees onto this sheet near the entrance. It’s a magnificent sight to watch them march into their new home!
- I look for the queen during this process. If I spot her, I make sure she enters the hive, sometimes gently guiding her with a bee brush.
- I place an entrance reducer on the hive with the larger opening accessible. This helps the new colony defend against robbers while they’re getting established.
- I provide a 1:1 sugar water feed, either via a top feeder or entrance feeder, to give them resources for drawing out foundation.
- Finally, I give them space—I don’t open the hive for at least 3-4 days, allowing them to settle in without disturbance.
One spring, I captured three swarms in a single weekend. Each one received slightly different treatment based on their size and the available equipment. The largest swarm went into a 10-frame deep with drawn comb. The medium-sized swarm received a deep with mostly foundation and one frame of drawn comb. The smallest swarm started in a 5-frame nuc. All three successfully established, with the large and medium swarms producing surplus honey by late summer.
After Installation: Crucial First Weeks
The care given in the first few weeks after installation can make the difference between a thriving new colony and one that absconds or fails. Here’s my approach:
- First inspection (3-4 days after installation):
- I check briefly to confirm the queen is laying eggs.
- I look for signs of comb building and proper cluster formation.
- I replenish feed if needed.
- This inspection is quick—under 5 minutes to minimize disturbance.
- Second inspection (7-10 days after installation):
- I look for expanded brood patterns.
- I check for proper resource storage (nectar, pollen).
- I evaluate if they need an additional box or more frames.
- If they haven’t started drawing comb, I investigate potential issues.
- Feeding protocol:
- I continue feeding 1:1 sugar syrup until they’ve drawn out at least 80% of their frames.
- During strong nectar flows, I sometimes reduce or stop feeding to prevent honey contamination.
- For very late-season swarms, I feed more aggressively to ensure winter survival.
- Space management:
- I add a second brood box when they’ve drawn out 7-8 frames in the first box.
- For strong swarms captured early in the season, I sometimes add a honey super after they’ve established two brood boxes.
Last year, I caught a massive swarm in early May that filled a deep 10-frame box. Within six weeks, they had drawn out two deep boxes and filled a medium super with honey. By contrast, a smaller swarm caught in July needed consistent feeding and never expanded beyond a single deep box that season. The timing and size of the swarm greatly influence first-year management.
Troubleshooting Common Swarm Issues
Even with the best techniques, swarm catching and installation doesn’t always go perfectly. Here are some common issues I’ve encountered and how I’ve addressed them:
Absconding After Installation
Sometimes a newly installed swarm decides to leave. To prevent this:
- I always include at least one frame of open brood from another colony if available. Bees rarely abandon brood.
- I use queen excluders below the brood box for the first 3-4 days with particularly flighty swarms.
- I ensure the new hive isn’t in full sun, as overheating can trigger absconding.
Queen Issues
Occasionally, a swarm may have queen problems:
- Multiple queens: I’ve occasionally caught swarms with multiple virgin queens (typically afterswarms). In these cases, I either separate them into different hives or let nature take its course.
- Injured queen: If the queen is injured during capture, I immediately order a replacement queen and monitor the colony closely.
- Queen acceptance: Rarely, worker bees may reject their own queen after the stress of being captured. If I notice balling behavior (bees clustering tightly around the queen), I separate her and reintroduce her using a queen cage.
Defensive Behavior
While most swarms are gentle, occasionally they can be defensive:
- If a swarm shows unusual aggression, I check if they might be Africanized (relevant in southern regions).
- Sometimes swarms from feral colonies can be more defensive. I evaluate whether to requeen with a gentler genetic line.
- I give defensive swarms extra space from neighboring hives and human activity.
Integration with Existing Apiary
Adding new swarms to an established apiary requires careful management:
- I place newly caught swarms at the edges of my yard rather than between established colonies to reduce the chance of drift.
- I’m vigilant about robbing, especially during dearth periods when established colonies might target a new, vulnerable swarm.
- I monitor for disease transfer, particularly if the swarm origin is unknown.
Conclusion: How to Catch and Install a Honey Bee Swarm
Catching and successfully installing swarms has become one of my favorite aspects of beekeeping. There’s nothing quite like the rush of carefully collecting thousands of bees and helping them establish a new home. It connects us to the ancient practice of beekeeping in a way that buying packages or nucs simply can’t match.
If you’re new to swarm catching, start with easy, accessible swarms and gradually build your skills. Join with experienced beekeepers on their swarm calls to learn techniques before trying alone. Most beekeeping associations maintain swarm lists and are happy to have apprentices tag along.
Remember that each swarm is unique, and flexibility is key. The techniques I’ve shared have worked for me across hundreds of swarm catches, but I’m still learning with each new swarm. The bees are excellent teachers if we pay attention to their needs and behaviors.
By understanding the biology behind swarming, preparing the right equipment, using appropriate capture techniques, and providing thoughtful post-installation care, you’ll soon be turning those exciting swarm calls into thriving new colonies for your apiary.


Leave a Reply